...
Adding a new customer starts with clicking the "Create new"-button next to the keyword search. "Add new customer and detail" creates a new customer with a detail at the same time. If you know that you're going to add a detail to the new customer you're creating, that is a simple way to create both at the same time. You can always add details to customers also afterwards. This instruction Instructions on how to add them afterwards can be found under the Adding customer details heading.
When creating a new customer Tuntinetti informs that the official name of the customer and the business id are the only obligatory fields. We advice to enter all the information about the customer that is possible to enter. If you want to fill some information later that is left empty in the creation phase you can always come back and fill in or modify the customer's information by selecting it in the search result list. The customer's information can include among other things:
- Official name of the customer
- Business id
- Additional id
- Transfer id
It is possible to mark the customer as a private customer
Info To a private customer it is possible to add Birth date, Identity code and Sex - Collegual name
- Billing name
- Main office
- Responsible unit
- Responsible person
- Salary payment dates
- Length of the lunch hour
Miscellaneous information
Info This information can be shown to the employee who visits the customer in addition to the contact information. - Notes
- Service description
- Attached photo
Addresses
Info Billing address and street address separately. The street address can be viewed in a map by clicking the map icon.
When the customer's information has been entered the changes must be save by clicking the "Save changes"-button in top of the page. The added customer can be found in the search results and it is able to search it with keyword search.
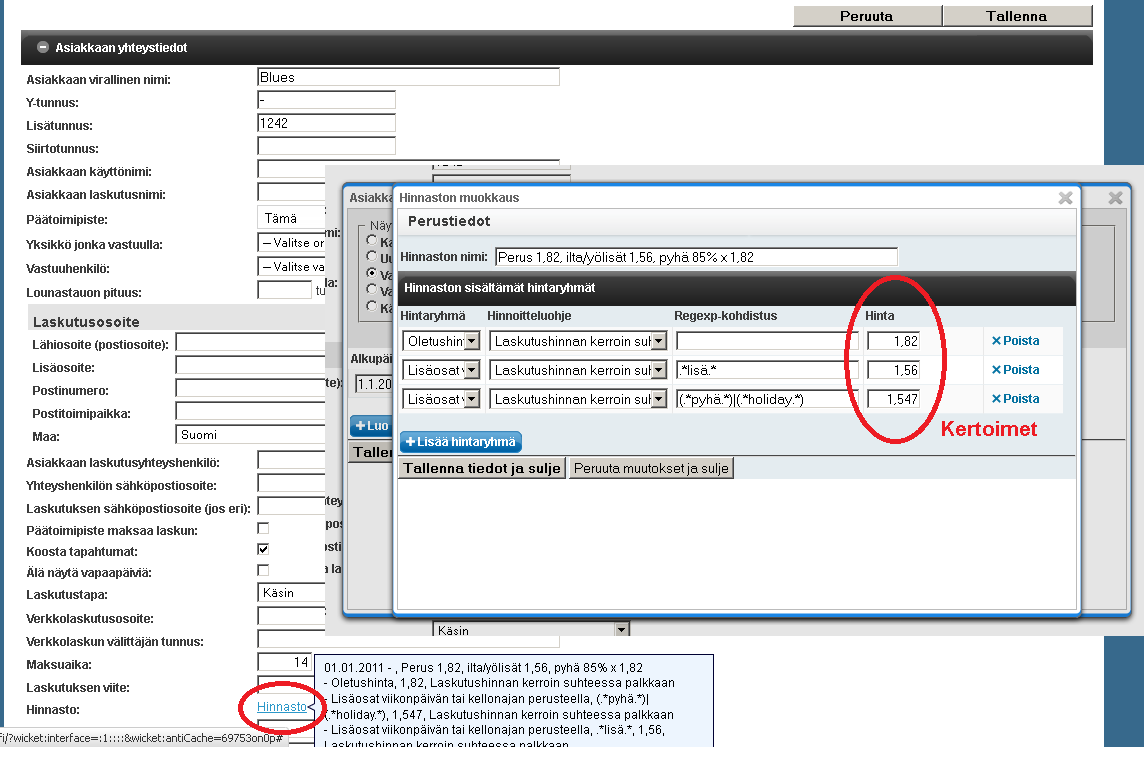
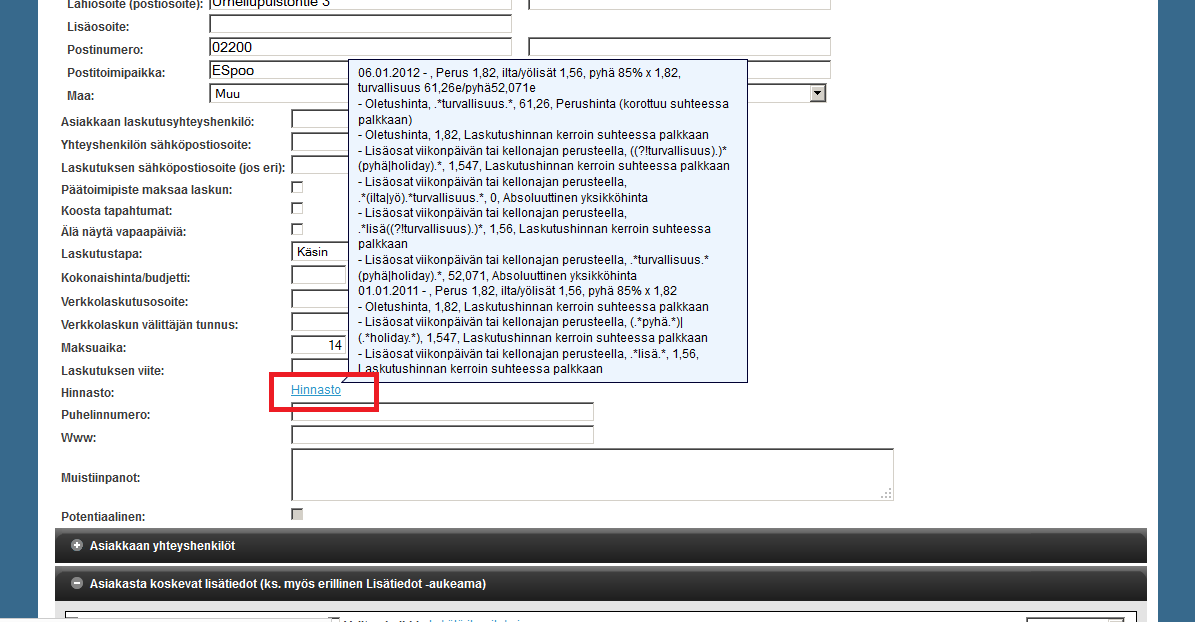
Creating pricing
Adding customer details
...