The following explains how to use the Mobile time reporting with a mobile phone.
There is an instruction video about the topic here: Tuntinettiin kirjautumiseen ja tuntien kirjaamiseen matkapuhelimella ja näihin liittyvät aiheet on käsitelty tässä ohjeessa. Alla on ohjeen sisältö, josta aihetta painamalla pääsee kyseiseen kohtaan ohjeessa.
| Table of Contents |
|---|
Mobile time reporting - Tuntinetti
| Iframe | ||||||||
|---|---|---|---|---|---|---|---|---|
|
...
| Table of Contents |
|---|
...
Login
Activating the Mobile time reporting view
...
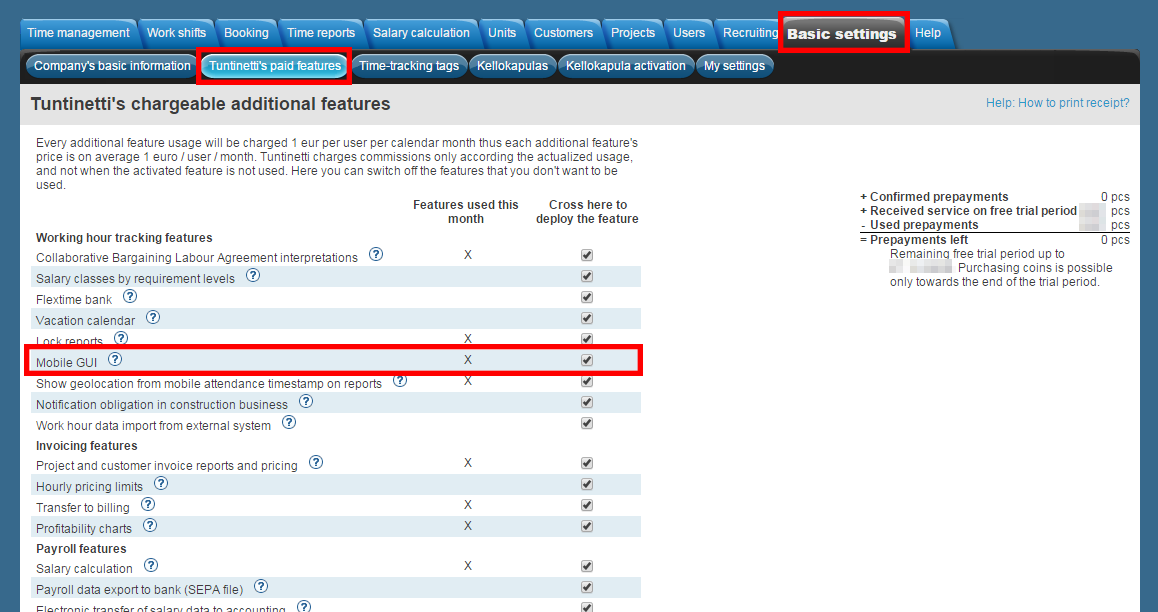
By checking the Mobile GUI check-box active the Mobile time reporting can be accessed.
PICTURE TUNTINETTI's PAID FEATURES > MOBILE GUI
Commissioning settings
- You get the account information via e-mail from Tuntinetti.
- Click the login-link in the e-mail and login with your username and password.
- Change the password and proceed to login. More information about the first login can be found in the next section Setting the commissioning settings with the help of a computer53034789.
- Now you have a working account to the web browser version of Tuntinetti.
- Go to http://www.tuntinetti.fi/Mobiiliseuranta with your phone's internet browser.
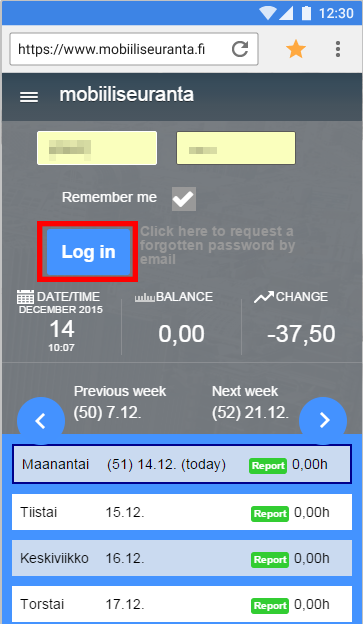
- Login with your username and password.
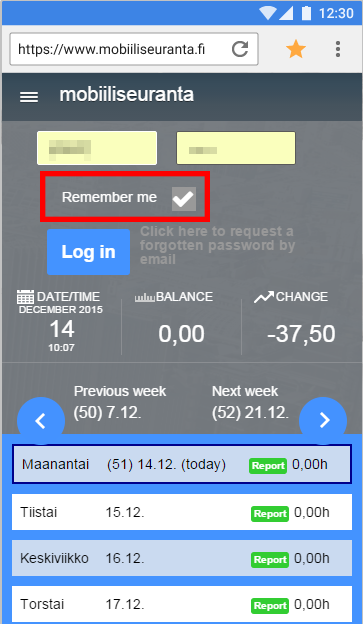
The application asks: "Remember me?" Choose "Yes" so you don't have to write your information everytime you want to login.
Info (This works with iOS and Android devices. If you are using a Windows Phone, you need to install a different web browser. For example Opera.) An additional function is being worked on to have the Windows Phone's Explorer to remember usernames. We will inform about it later. Turn off "Remember me" -function
Info icon false If you want to log in without saving your username and password, you can un-check the "remember me"-check-box and the system will not remember your account. The "Remember me"-function will be turned off for good after you have logged in like this once. - Add the page to your bookmarks and add it to your phone's home screen.
- Apple: Open the menu from the footer and choose "Add to Home Screen".
- Windows Phone: Open the web browser's settings from the footer and select "Pin to start".
- Android: Open the web browser's settings from the top part of the screen and select "Add to Home Screen".
- Now move the icon somewhere where you can easily find it!
...
- Open the Mobile time reporting by clicking the icon that was made according to the Commissioning settings 53034789 instruction.
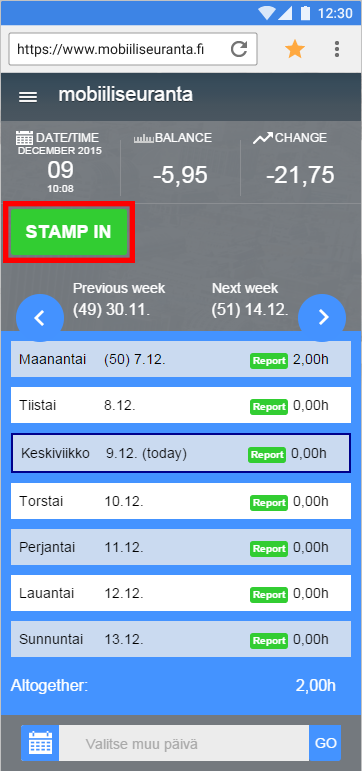
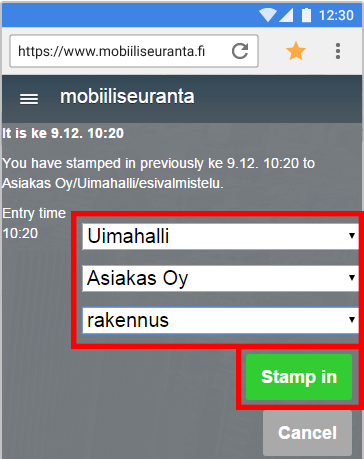
- With the STAMP IN -button you can start the work time.
- A new window is opened, where you can select a project. The confirm the selection by clicking Stamp yourself in.
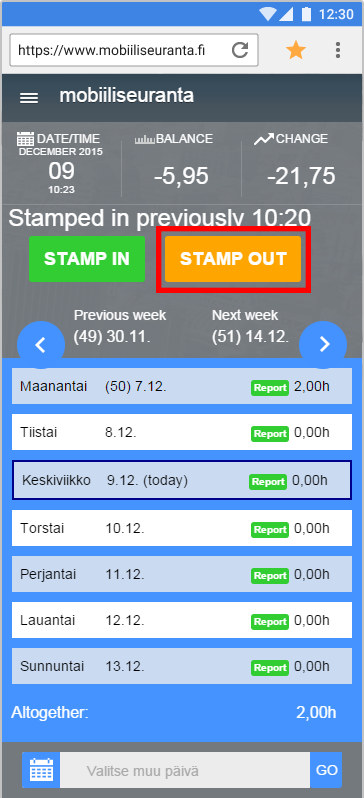
- With the STAMP OUT -button you can end the work time.
- The STAMP OUT -button can be also used when you go for a lunch or leave your work place.
- When you return to work from lunch just stamp yourself back in with the STAMP IN -button.
...
Time reporting
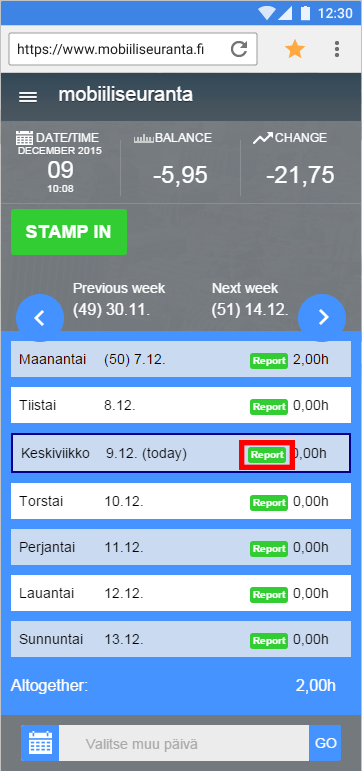
- Click the desired day's KIRJAA Report -button.
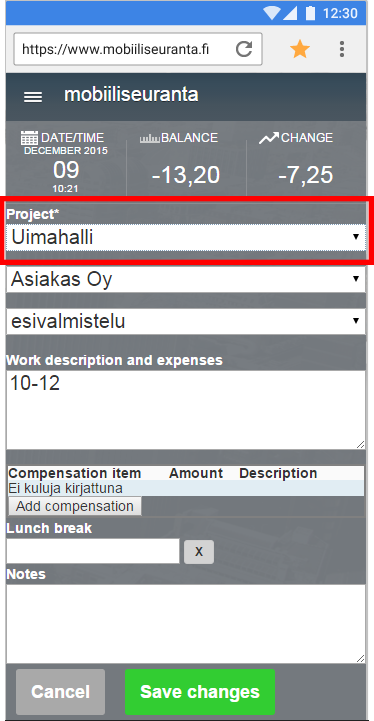
- Select your project.
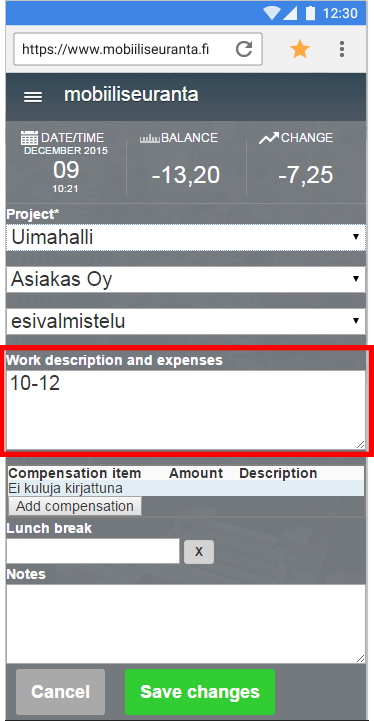
- Enter your work time in the Tehtyjen töiden kuvaus ja kulut Work description and expenses -field.
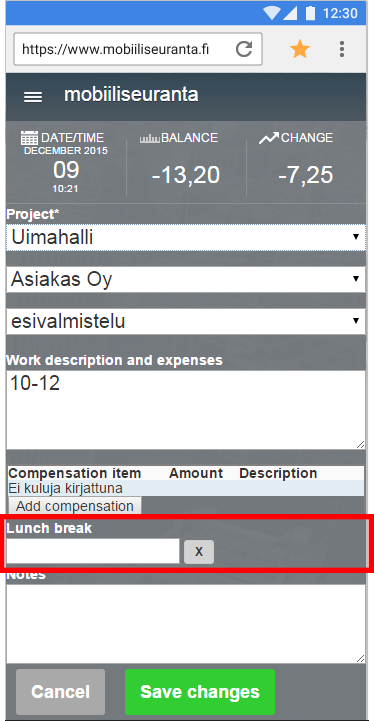
- In the Ruokatauko Lunch break -field you can select the length of your lunchtime.
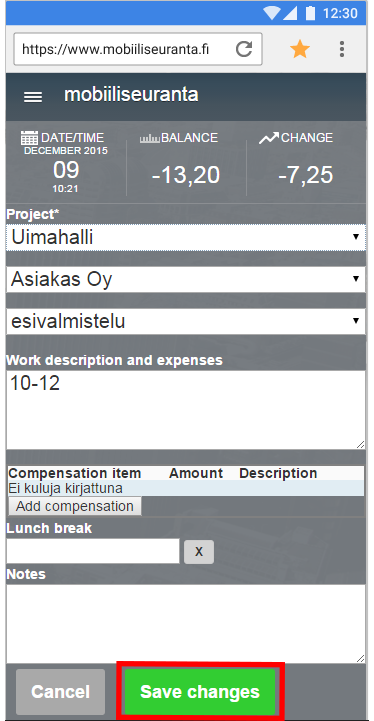
- Save by clicking the Save-button.
| Info |
|---|
| It is possible to write text in the Work time -field if your employer wants you to describe your work. |
More than one project on a work day
- Stamp yourself in the first project normally.
- When you start in the second project, you don't need to stamp yourself out from the first one.
- Stamp yourself in again and you get to assign yourself to another project.
- Select a new project and click "Stamp yourself in".
- You can stamp yourself in multiple projects in one day.
- Work time ends automatically in the previous project when you stamp yourself in another project.
- Remember to stamp yourself out when work day ends.
If your workplace don't use the stamping functions or you forgot to stamp yourself in or out, you can enter your work time separately by day like in the previous instruction 53034789.
Selecting a customer, a task and expenses
- If your project has multiple customers, you can select the desired customer in the "Customers" -drop-downlist.
- If you are performing task defined by your employer, you should choose the task in the "Tasks" -drop-downlist.
- If the project has different expenses, you can select them in the "Expenses" -drop-downlist.
| Info |
|---|
The selected project's most important expenses are pre-selected for you and more expenses can be viewed by clicking the "Add compensation" -button. Some expenses need to have descriptions, for example order number. Your employer will instruct you about these expenses. If obligatory information is missing, the program informs you and highlights the sections that need to be entered with a red color. |
Show customer details to employees
On the company's basic settings, you can set the display of customer information for employees. The setting can be found on Tuntinetti`s basic information tab on Other settings ´Show customer details to employees in hour reporting and work shift confirmation messages´:
With this setting, the employee can see the customer details on the mobile device:
