The following demonstrates Tuntinetti's Employee wizard. The employee wizard guides you how to create and modify employees. It is also the quickest way to get to the employees.
...
| Table of Contents |
|---|
...
Employee wizard
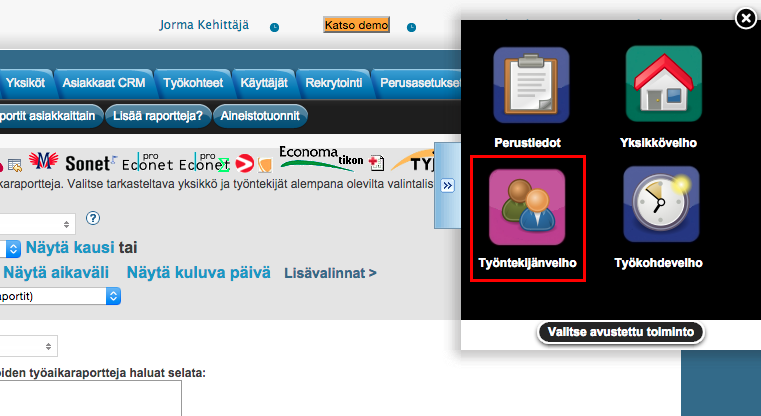
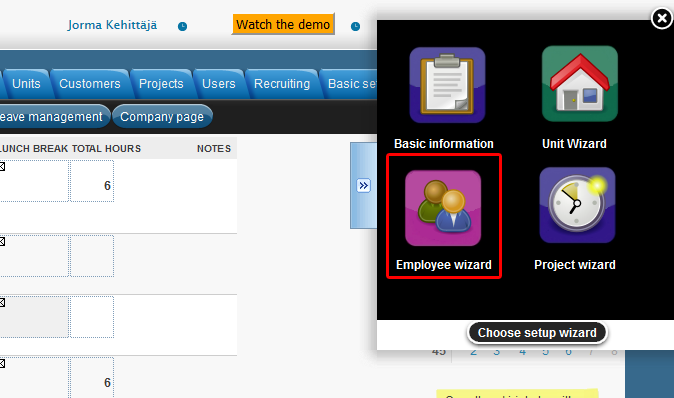
Employee wizard is part of the assisted functions. The assisted functions can be found at the right edge of the screen and they are accessible from any page.
Open the assisted functions.
Now you can see all the different wizards. Choose the project wizard.
Modifying an employee
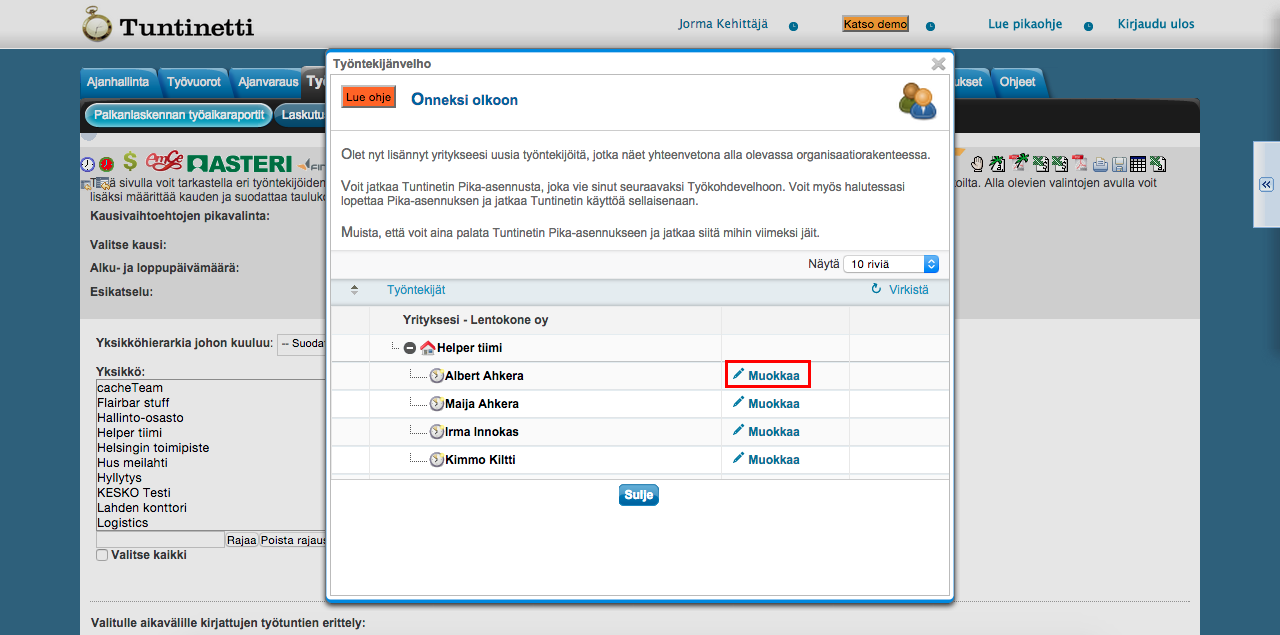
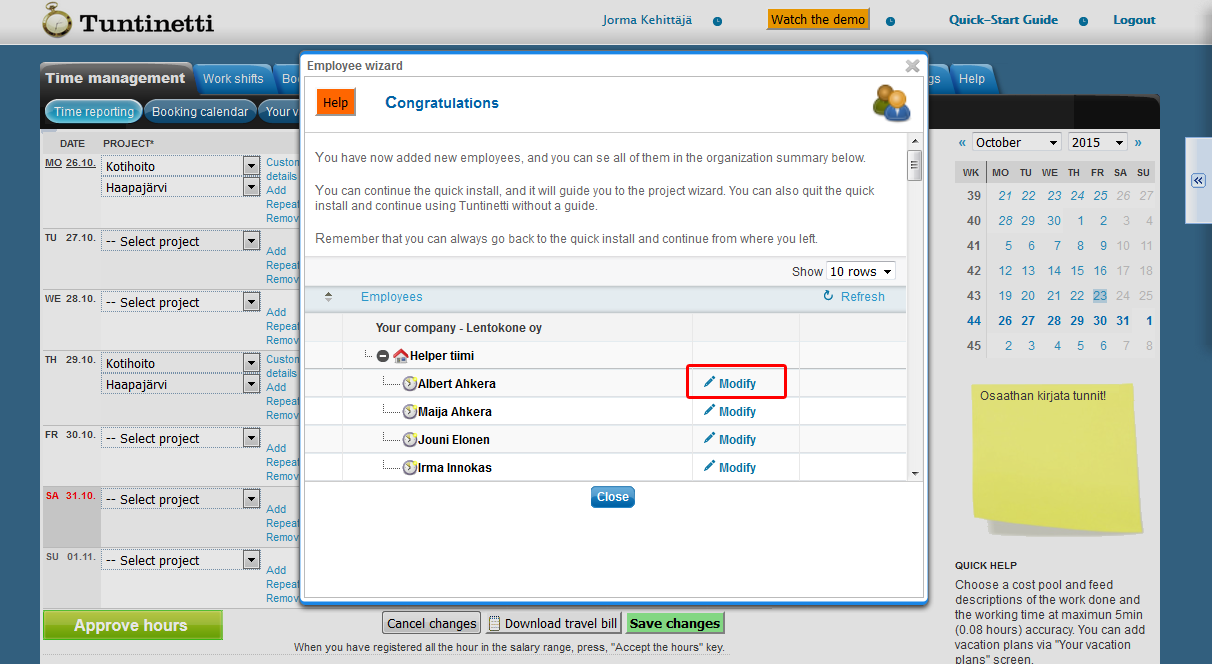
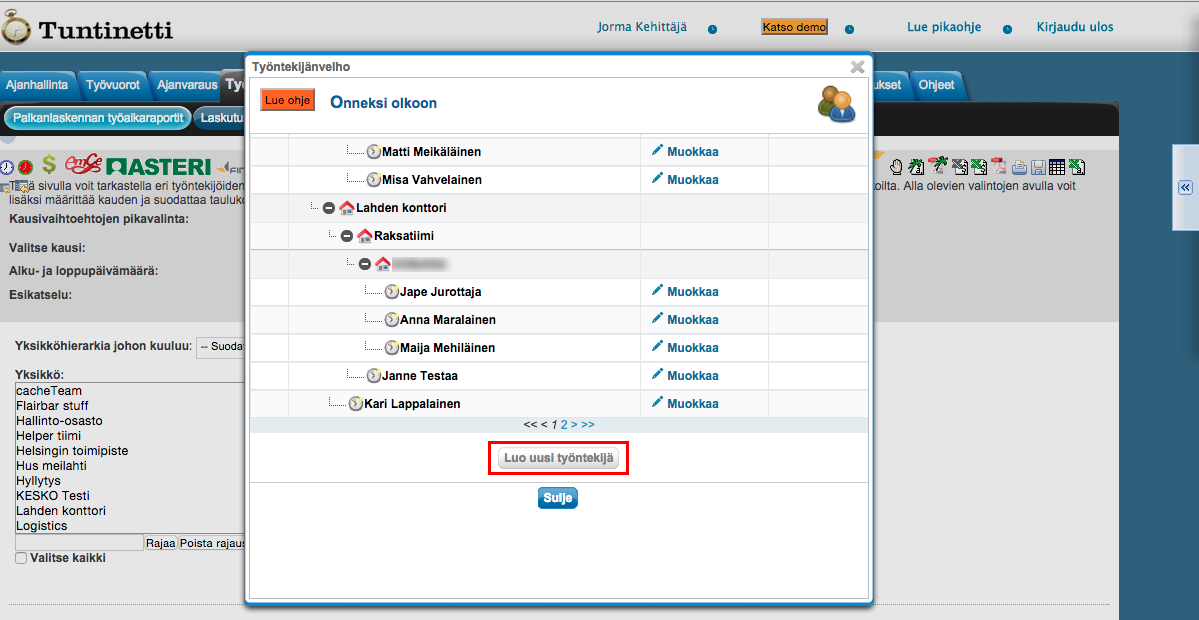
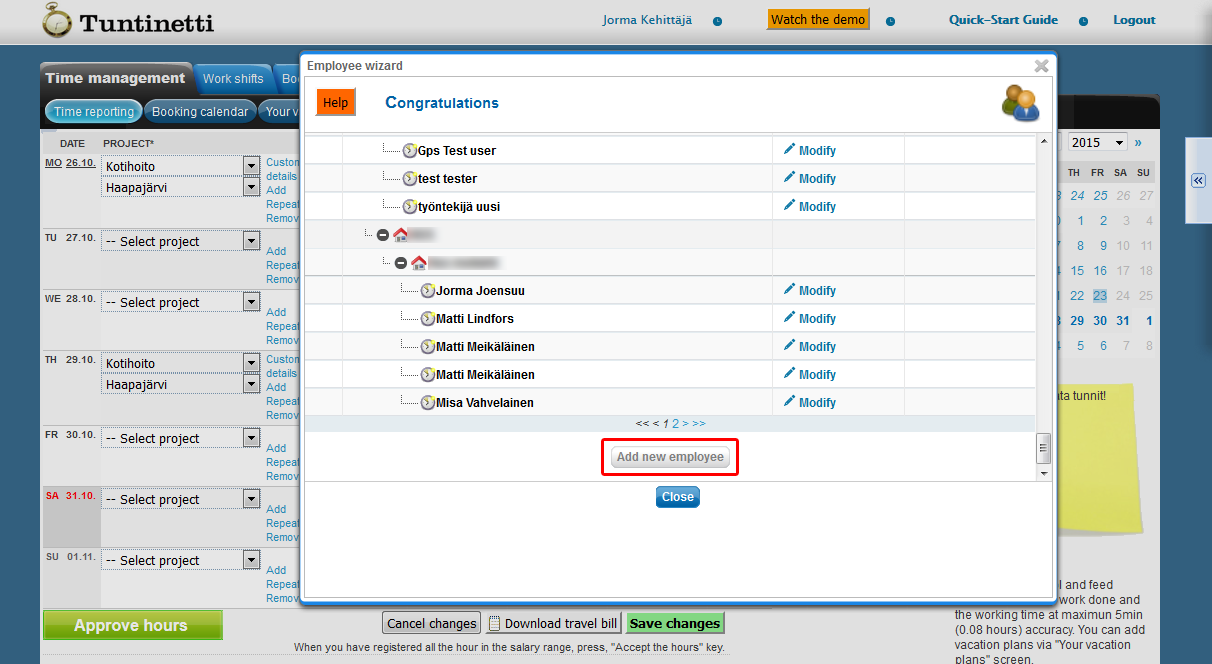
From the opened window you can see your company's employees by units. By clicking Modify you are able to modify the employee's information.
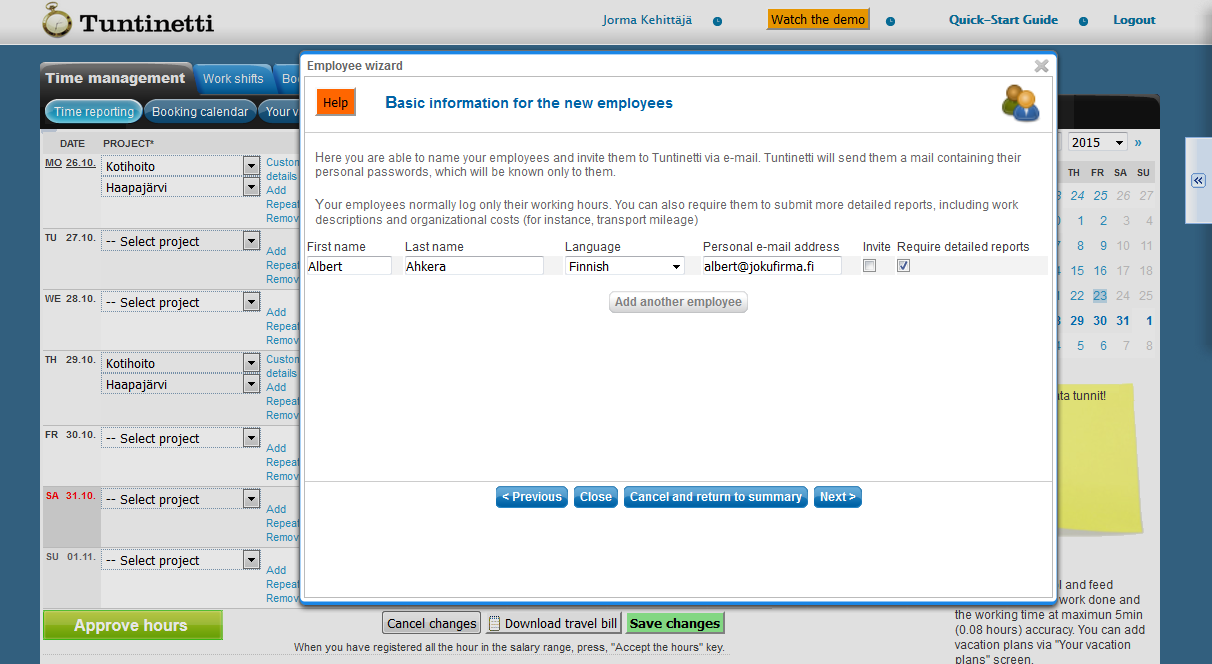
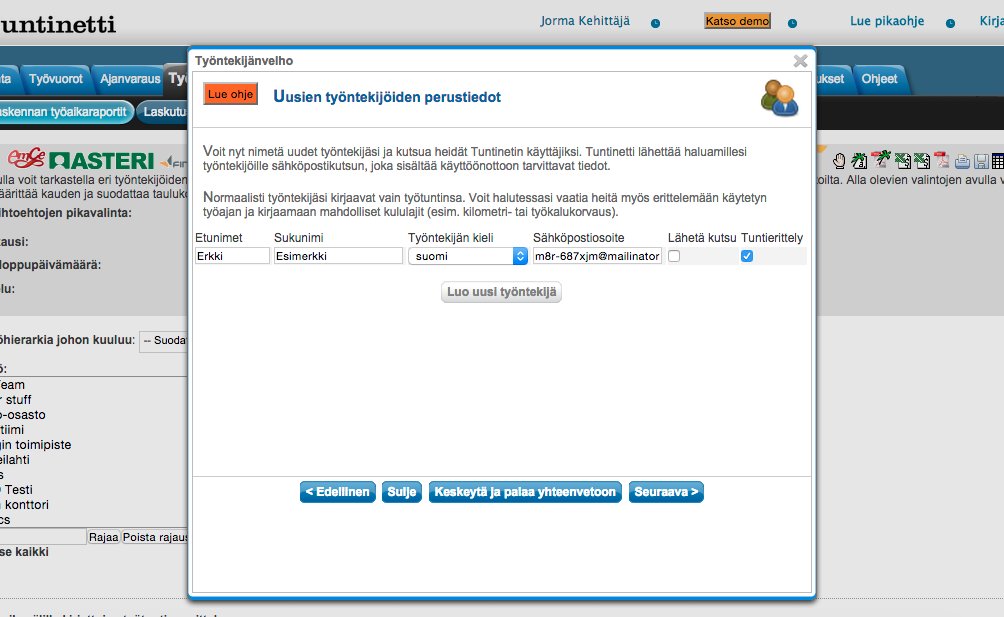
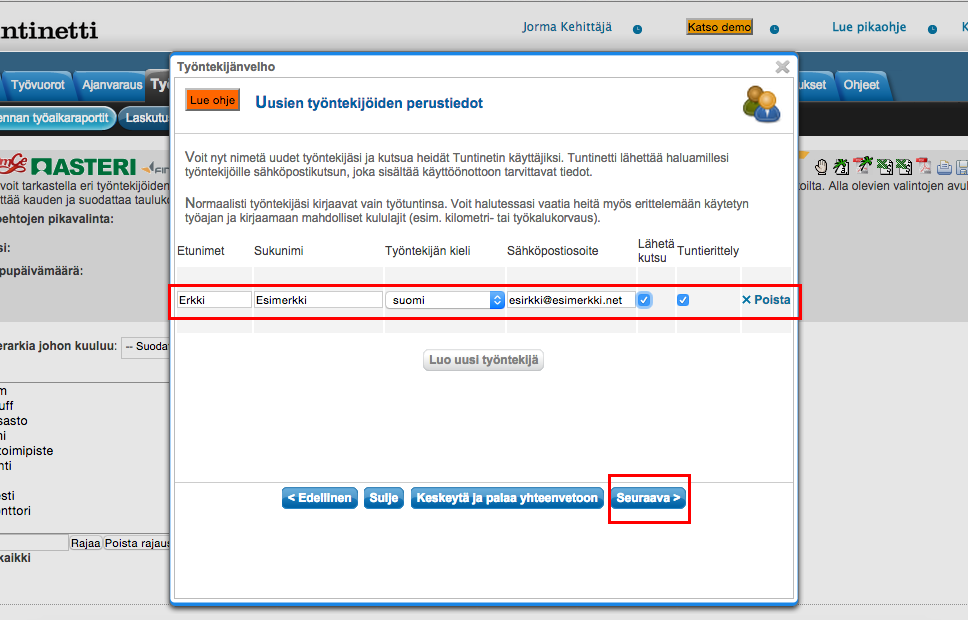
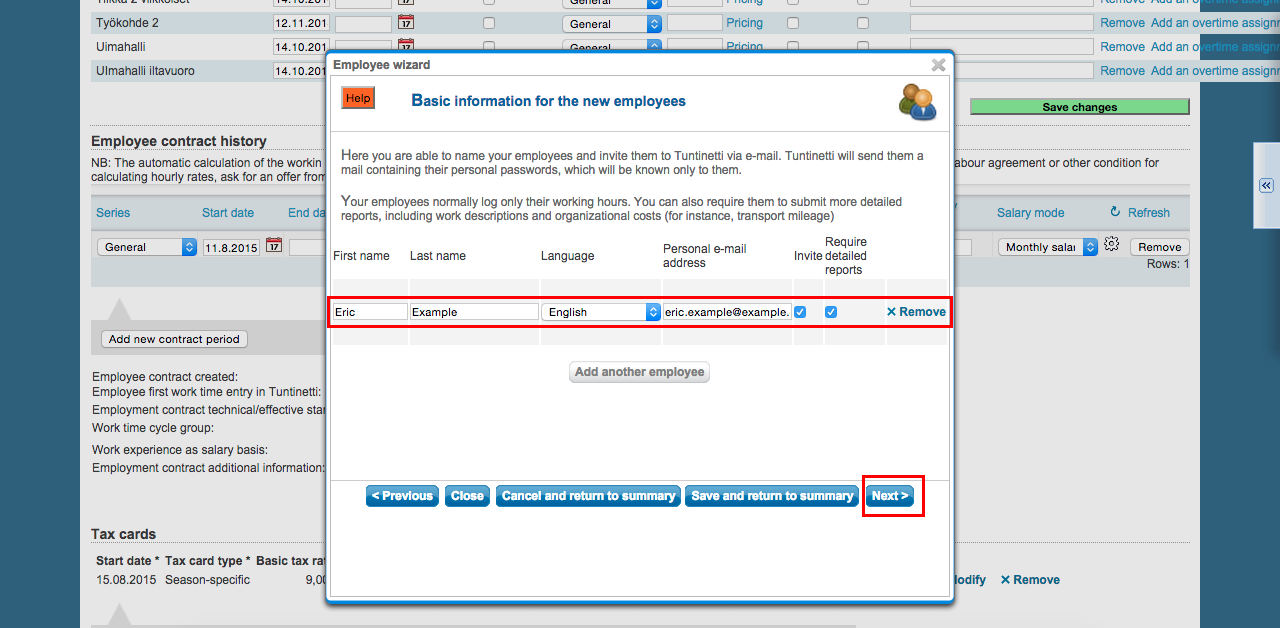
At the first part you can change the employee's name, email-address, used language and wether it is a detailed report or not. You are also able to choose if the Tuntinetti will send an invitation email to the employee. In this view you are also able to create new employees. Clicking Next will take you to the next part.
Adding a new employee
Start creating a new employee by clicking Add new employee -button from the bottom of the page.
Fill the employees basic information and click Next.
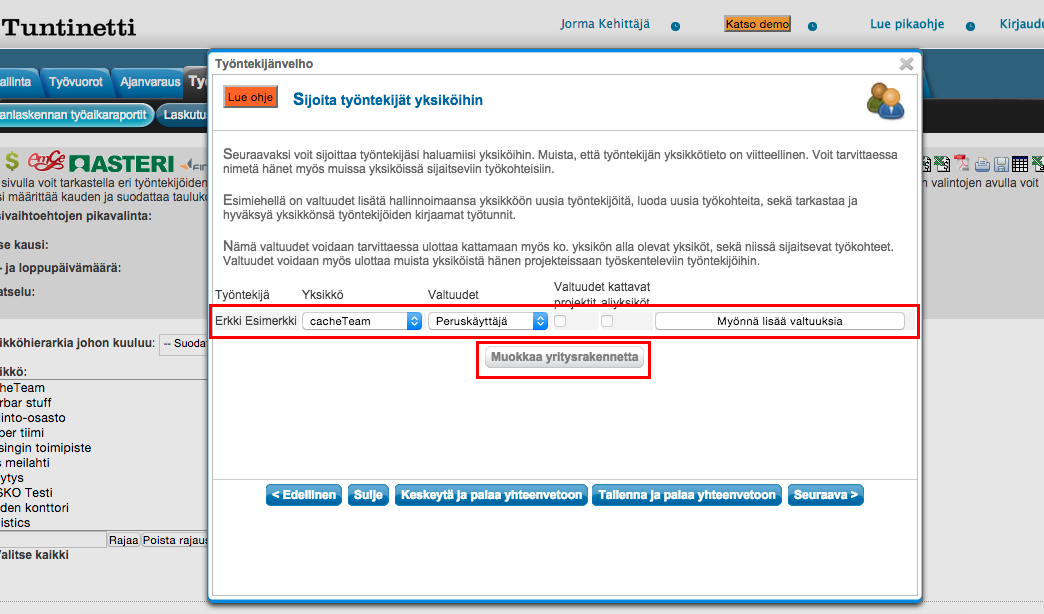
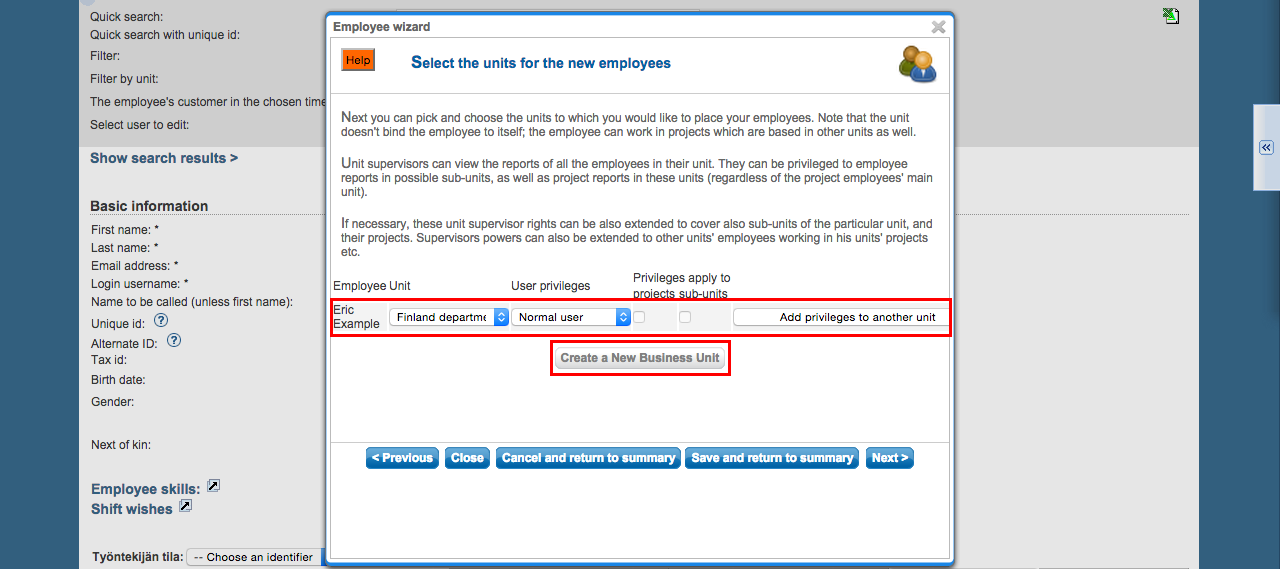
Next you can choose the employee's unit and privileges.
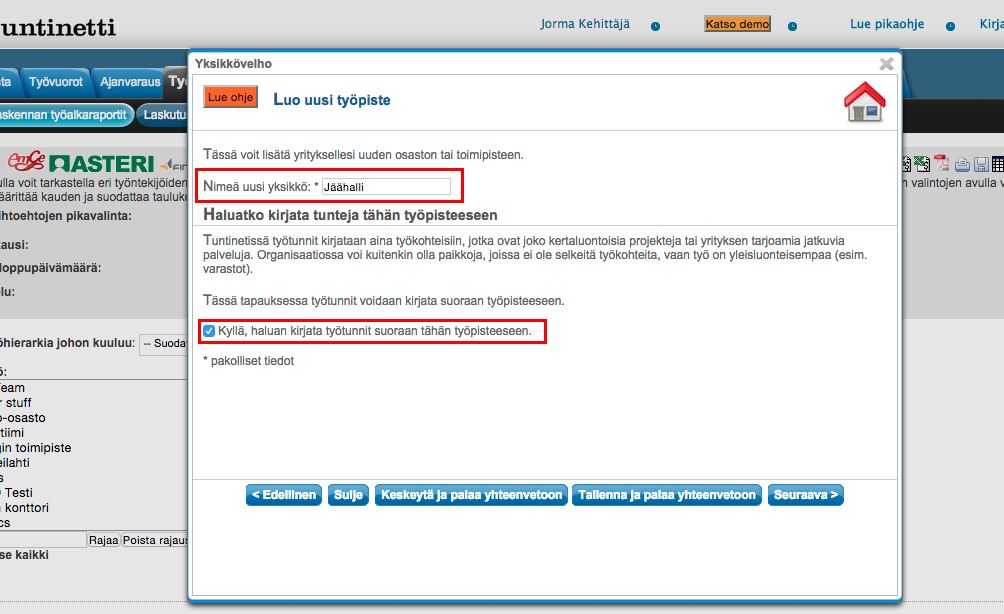
Valinnalla muokkaa yritysrakennetta pääset antamaan tiedot työpisteelle. Kirjoitetaan yksikön nimi ja valitaan, halutaanko työtunnit kirjata suoraan kyseiseen työpisteeseen.
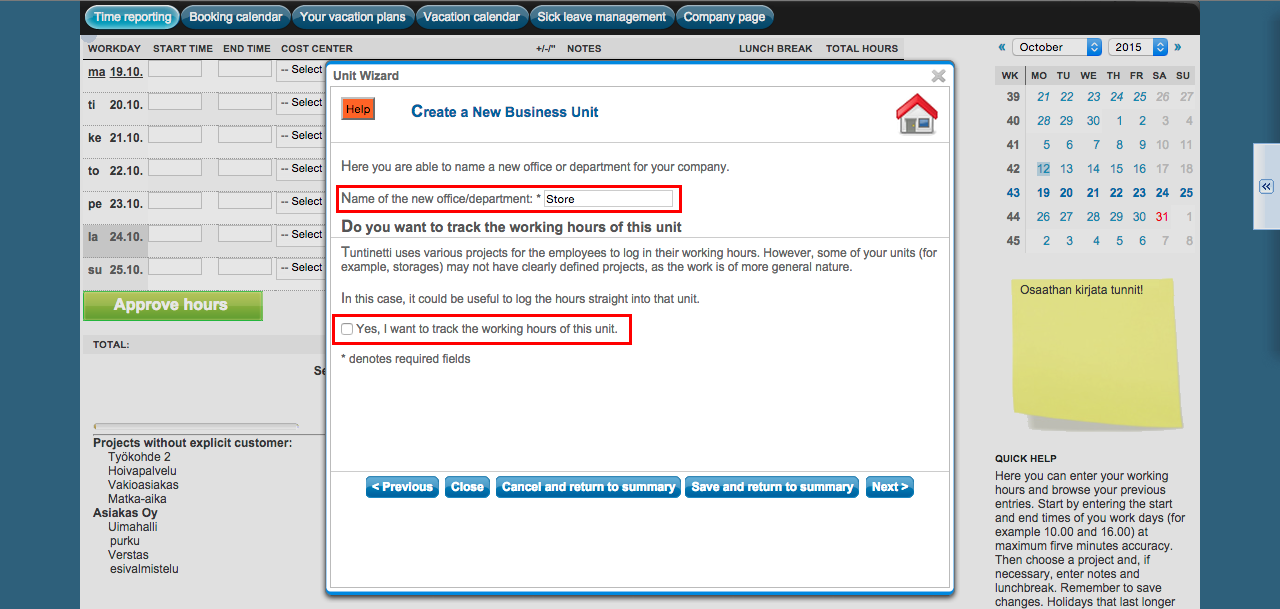
By clicking the Create a new business unit -button you can fill the information for the business unit. Write the unit's name and choose wether you want the work hours to be logged straight to that unit or not.
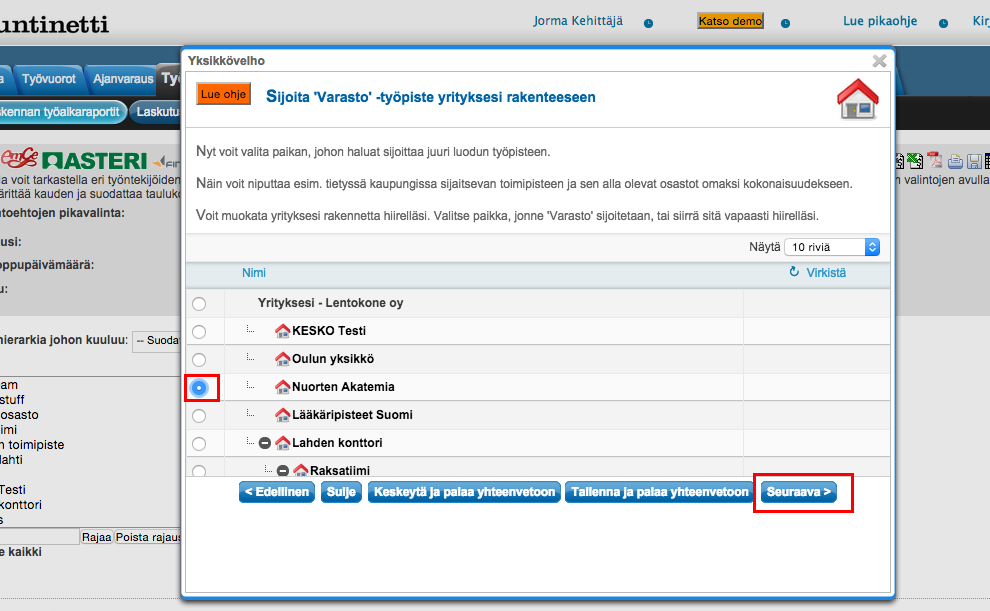
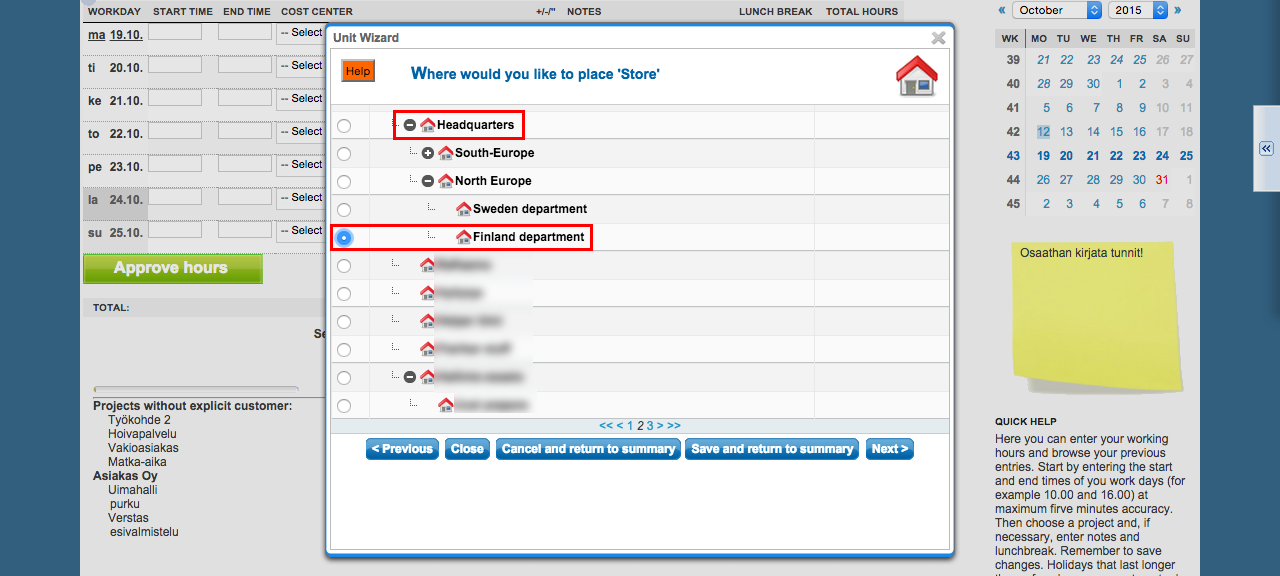
Next place the new business unit to the company's structure.
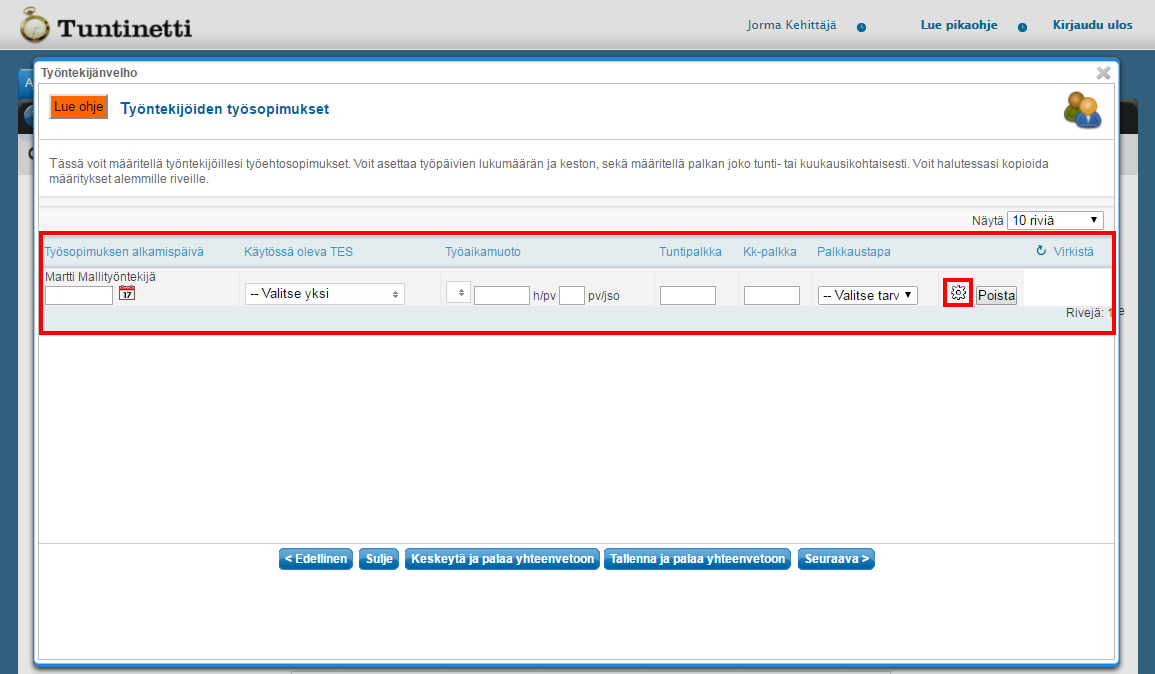
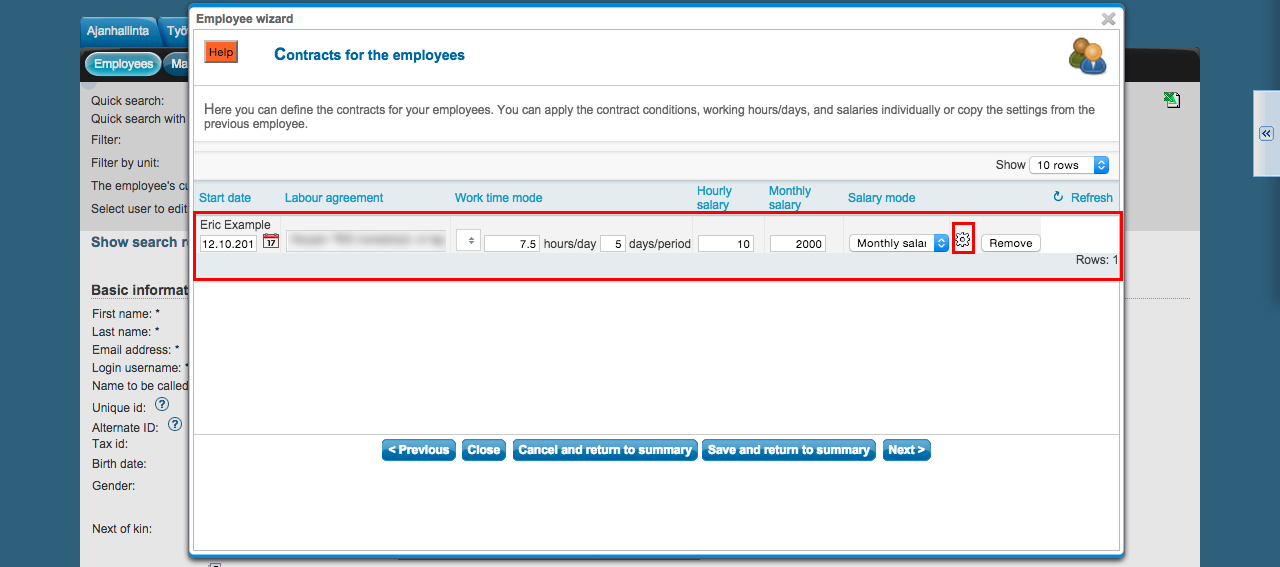
Then you are able to choose the contract information and any other information about the salary for the employee. By clicking the memo -icon you get to the additional information about the employee.
Finally click next -button and the employee is created. The application will notify about a successful save.
...
